From abstract waves to a connected logo — then hearts in brand style
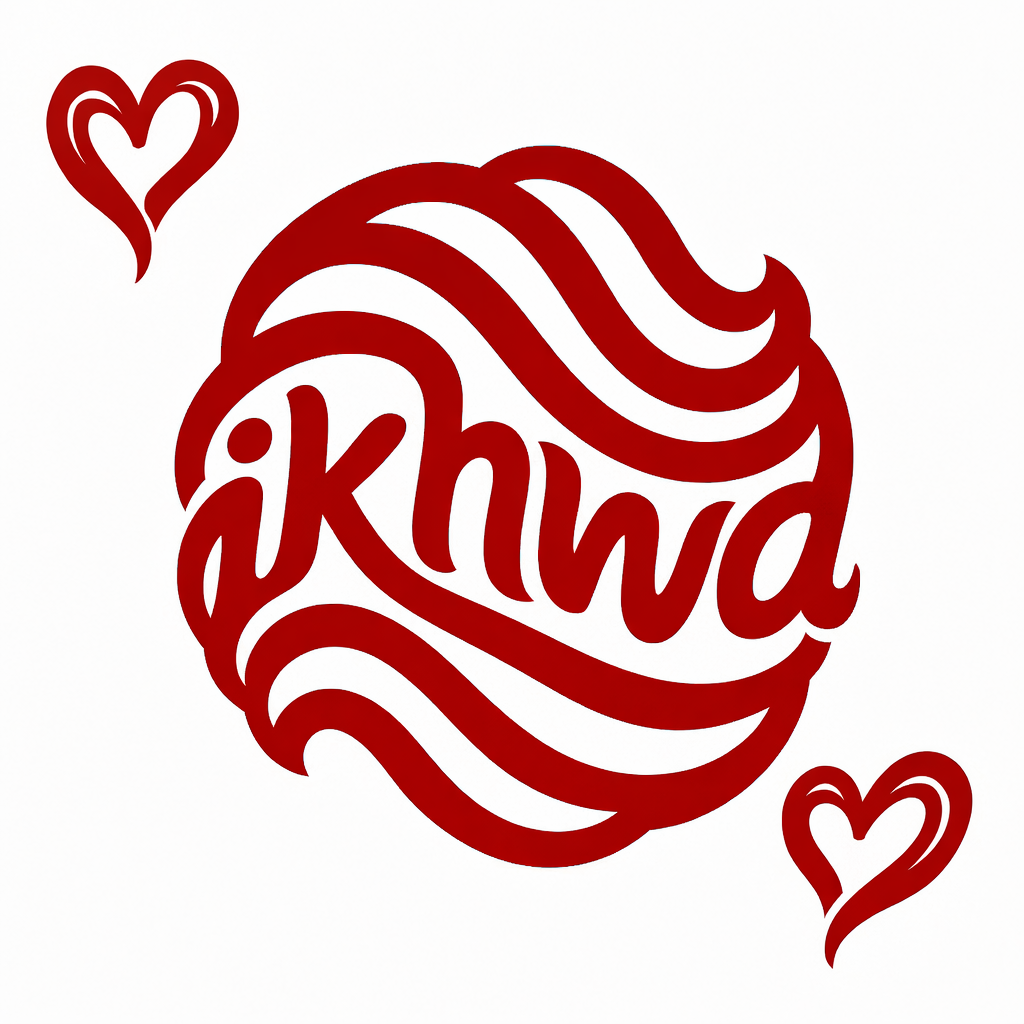
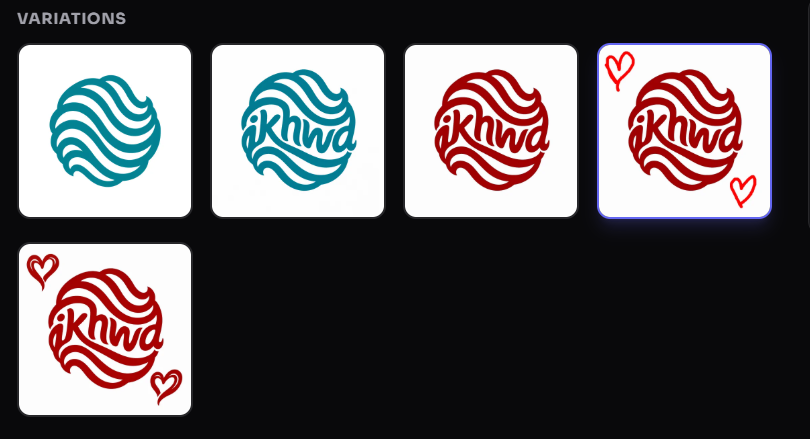
A five-step Studio journey: generate, one AI edit to weave in the name, a free paint-bucket recolor, sketched hearts on the canvas, then an AI edit that redrew them as native logo artwork.
The exact brief
“A coffee shop called Ikhwa”
The edit instruction
“Put “ikhwa” between the waves and make it look seamlessly connected to the waves to form the word”
Original and final

The recorded journey
Action, instruction and visible result for each preserved stage. Manual instructions describe the recorded tool action; they are not AI chat messages.
Action: AI generation
Instruction: A coffee shop called Ikhwa
Result: Selected teal wave direction; other initial candidates are not shown.
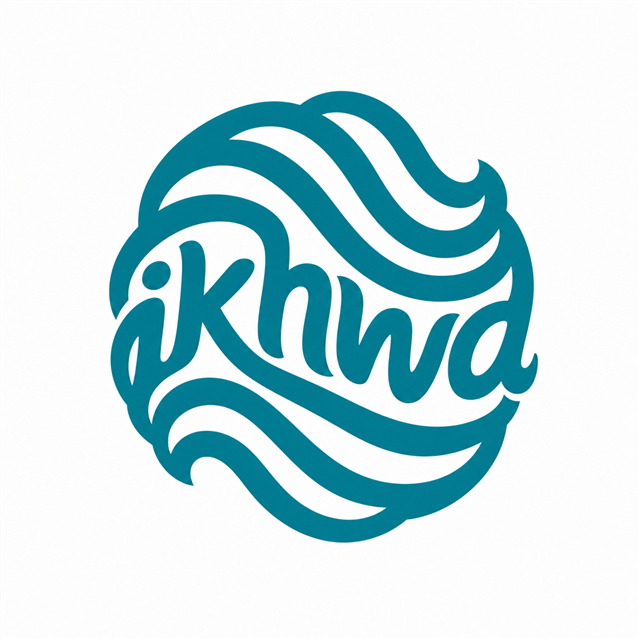
Action: AI edit
Instruction: Put “ikhwa” between the waves and make it look seamlessly connected to the waves to form the word
Result: The name is integrated with the existing wave mark.
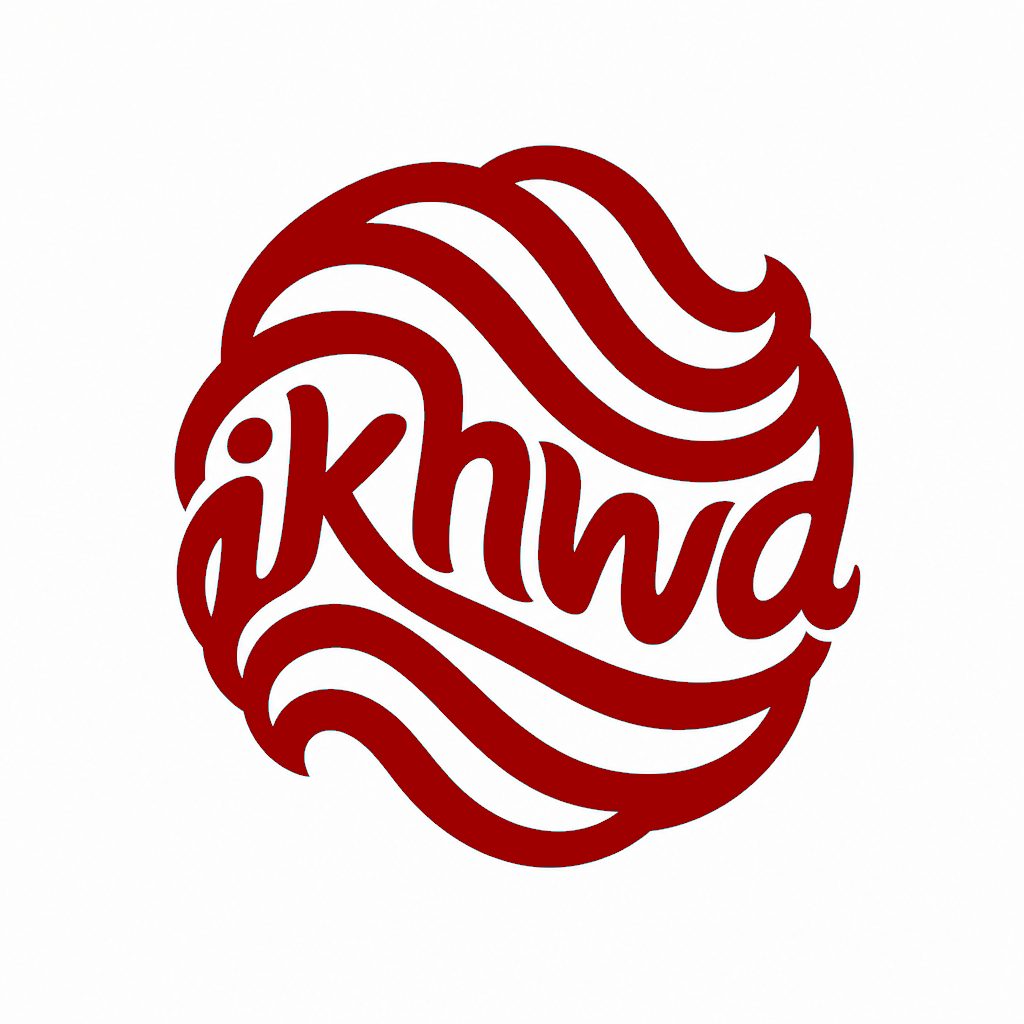
Action: Manual edit
Instruction: Recolor the mark using the paint bucket.
Result: Deep-red artwork, using a local manual tool.
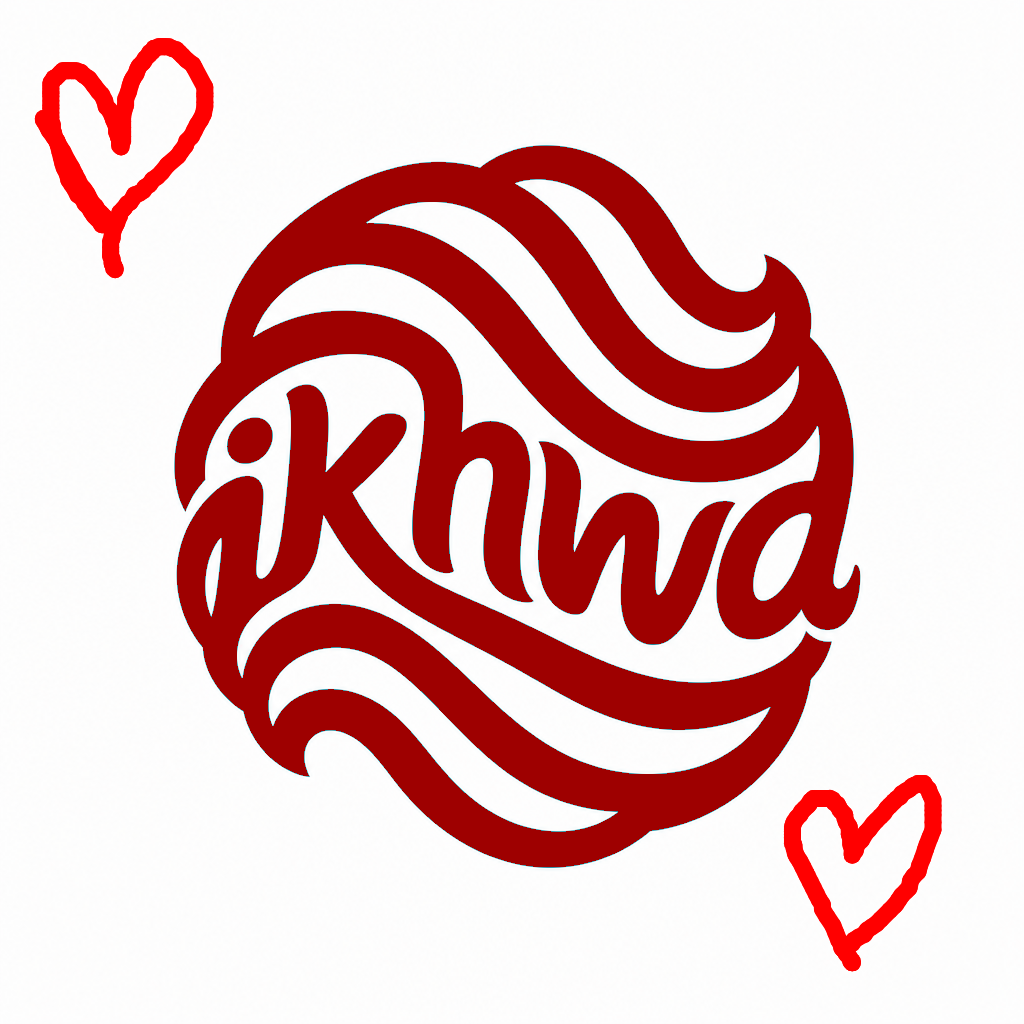
Action: Manual edit
Instruction: Draw hearts in the intended positions with the red pen.
Result: Placement sketches; this is an intermediate state, not the final logo.
Action: AI edit
Instruction: Redraw the hearts to match the style of the logo
Result: Hearts redrawn in the ribbon style of the mark.
These are owner-curated product demonstrations, not customer endorsements or verified live businesses. The complete initial candidate pool and selection history are not published; no variation count is implied.
Process
- Generate from a five-word brief. 'A coffee shop called Ikhwa' is deliberately broad. Vectura produced multiple concepts; the layered teal wave mark was selected.
- Integrate the name with one AI edit. The instruction asked for “ikhwa” to sit between the waves and connect to them — a relationship, not just text dropped on top. The wave geometry and palette survived; only the name-to-symbol relationship changed.
- Recolor locally with the paint bucket. The mark was shifted to a deep red using Studio’s manual fill tool — a pixel operation with no provider call and no credits spent. The composition stayed fixed.
- Sketch what you want added. Two hearts were drawn with the red pen where they should live on the mark — placement and shape as a blueprint, not final artwork.
- Let the AI redraw the sketches in logo style. A chat instruction asked for the hearts to match the ribbon-like strokes of the mark. The model replaced the red ink with styled curves that read as part of the same emblem, then the result was saved as a new lineage step.
Why this is a holistic process, not one edit
Most proof stories stop at a single before/after. Ikhwa shows the full refinement loop owners actually use: generate, targeted AI edit, free manual touch-up, sketch intent on canvas, then AI integration. Each step keeps lineage — nothing is destructive.
Manual vs AI — when each tool fits
- AI edit — structural changes that must match the logo’s visual language (integrating the name, redrawing sketched hearts in style).
- Paint bucket — flat recolour or gap fills you can see immediately; zero credits.
- Red pen sketches — show where new content should land; the edit engine reads position and shape, then renders styled artwork.
How to phrase sketch-based edits
- Draw the shape where it should live, then name the style: “Redraw the hearts to match the logo.”
- Keep edits scoped — one relationship or one addition per instruction.
- Compare every step in Variations before saving; the original is never discarded.
What was delivered
- Original logo PNG (abstract teal wave mark)
- Name-integrated logo PNG (teal)
- Recolored PNG (deep red, paint bucket)
- Sketch-state PNG (hearts drawn on canvas)
- Final PNG (hearts redrawn in logo style)
- Recorded generation prompt and edit instructions, shown verbatim
Reproduce this with your own brand
- Generate from a short brief and pick the direction you like.
- Use the AI Editor for structural changes (name integration, style-matched additions).
- Use the paint bucket for quick recolours without spending credits.
- Draw sketches on the canvas where new content should appear, then describe the style in chat.
- Save when the Variations strip shows the result you want — each step stays in history.
Common questions
Did the paint bucket cost credits?
No. Manual fill and brush edits are local pixel operations. Credits apply when you run an AI edit from the chat.
Why draw hearts instead of only typing the instruction?
Sketches pin placement and shape. The AI still interprets your text for style, but it no longer has to guess where elements belong.
What if an AI edit goes too far?
Every step is kept in Variations. You can compare states, edit again from any prior step, or discard unsaved manual paint.
What this example does not prove
- This proof demonstrates generation and refinement continuity, not a completed Brand Kit or commercial launch outcome.
Evidence
Build your own connected visual system
Start from one honest brief, refine the selected direction, and carry the result into the formats your launch actually needs.
Try abstract with your own brief